Showing posts with label how to. Show all posts

Thursday, September 22, 2011

How To Machine Quilt

Machine Quilting is the Best!

Gather your supplies:
  1. Rubber tipped gloves, preferably cotton, to grip the quilt and save your hands.
  2. Safety Pins, the thinnest and finest you can find.
  3. Brand new needle in your sewing machine.
  4. Good music. You decide.
  5. Straight Pins.
  6. A walking foot. Buy one.
Stitch structural quilting lines
 
Sew structural lines across the quilt. Follow the sashing, for example, stitching in the ditch. Start in the middle and work your way to the edges.

Let the Quilt Talk to You

Sometimes at this point I let it sit overnight. It bubbles in my brain while I'm sleeping, and I wake up knowing just how to finish the quilt.

Here is a peak at my process:


The block has one large X across it, for structure. Hmm, not enough.

I added a diamond in the middle of the block. Still not enough. It doesn't speak to those little tiny 3/4" squares.


That's it! Stitched on the diagonal, through every other row, and now those tiny squares are talking to me!

Body Care:
  1. Get up and do something different every half hour.
  2. Turn on the lights. Work in natural light if you can. Add a lamp over your machine.
  3. Drop your shoulders. (I tried Tai Chi-briefly-and came away with this gem. Turns out I'm not such a balanced person.)
Do you have any machine quilting tips? Tell us everything! One lucky winner will receive Schmetz sewing machine needles and a pack of 5" 1930s charm squares. Drawing ends Oct. 2nd at midnight.

Thursday, December 10, 2009

Wrap it Up!


Do you have some orphan quilt blocks? Pieces of fabric that didn't quite work in your last project?
Stitch them together into a gift bag!

Gather two fabric squares and ribbon.
  1. Cut two pieces of ribbon, twine, or skinny scraps. Pin ends to the raw edge on the right side of one square, about 2" from the top edge.
  2. Place two squares right sides together.

  3. Stitch 3 sides, sewing over the ribbon to secure it.

  4. Turn inside out and wrap!
You can use your pinking shears and work with raw edges. Or, finish off the top of the bag with a strip of coordinating fabric.

Thursday, November 19, 2009

Gifts Week 2


Are you giving the gift of cash? Dress it up with a customized wallet!

How to make a wallet: Directions and photos are here!

Thursday, November 12, 2009

Gifts Week 3

Here is another scrappy project! Make a headband for the girls in your life.

Supplies:
  • two 2.5" x 19-20" wide strips for grownups, or 18" long for a 10 year old girl
  • 3 inches of 1" elastic
  • two 2" x 6" strips

Sew Headband

Iron long strips in half to make them 10" long. To shape the headband, trim away a skinny triangle from each side, making the headband wide at the fold, and skinny at the ends. Mark a point 3/8" in from the cut ends. Draw a 10" line from this point to the edge of the fold. Cut. Repeat on the other side. Shape a curve by trimming away the point at the fold.

Iron 1/4" under on each end of each strip.

Place strips right sides togehter, and stitch a 1/4" seam down both long edges, backstitching at the ends. Turn inside out. Press. Topstitch if desired.

Sew Elastic Sleeve

Place 6" strips right sides together, and stitch both long sides, backstitching at ends. Turn inside out. Thread elastic through this tube, and secure it with stitching at each end.

Finish Headband

Stuff each end of the elastic sleeve into the ends of the headband, making a circle. Stitch across the ends of the headband to secure.

Wednesday, October 21, 2009

Week 6 Gifts

Use your scraps and tidbits to make a custom cover for a planner. I found a 2010 planner for $1 at Target. Score! You can turn an ordinary notebook or diary or planner into something special in about an hour.

How to Make a Book Cover:

Make fabric out of scraps: Sew together scraps into chunks of fabric, then combine the chunks into a larger piece of 'fabric'. Press as you go. Make it 6" wider and 4" taller than your planner. Press well.

Place the planner on top of your fabric. Draw a line to mark the top and bottom of the spine of the planner, extending it about 1" on either side of the spin, and making it a smidge taller than the planner. Clip straight down to the line, as shown below. Press this flap down. Topstitch close to the edge of the flap.

Lay planner on fabric, and press it down flat. Draw around it, about 1/8" from the edges.


Trim the edges nice and even, leaving 1-2" on the top and bottom, and 2-3" on the sides. Press under 1/4" on the sides and topstitch.


Using the line on the sides as a guide, fold the sides on the line, placing right sides together. See the right side of the picture below. Sew across the top and bottom of the flap, along the lines.
Turn inside out, shown below on the left side of the picture below:


This is what the inside will look like. A mess!


Tuck the planner into the cover. No more mess!

Fun! Share your project with Just something I whipped up every Monday!

Friday, May 29, 2009

How To Hand Sew a Rail Fence Block

I like handsewing. It's portable. It goes with me to softball games, orthodontist appointments, car rides. It calms me down. It helps me sit still and listen in meetings. It's social; I can do it while sitting with a group of people.

This is for dear Rosemary, who perseveres.

Rail Fence Block, 6" finished


Materials:

Strips of fabric, each 2.5" x 6.5"
A good needle. I love John James needles.
A few pins.
Cotton thread.

Mark a sewing line:


Draw a scant 1/4" seam allowance on one strip. Use a sharp pencil(mechanical is best)to draw a line that is almost but not quite 1/4" from the edge.

Tip: Make one block, measure it, make sure it is finishing at 6.5". If it does not measure 6.5", adjust your seam allowance to be smaller or larger, as needed, and then mark more pieces. Sometimes a very small adjustment in the seam allowance makes all the difference!

Sew a seam:

Next, pin two of these strips together, right sides together. You will only see the wrong side of the fabric.

Using no more than 18" of thread, thread your needle and make a knot in one end. It's best if you make the knot in the end that you just cut. The twist of the thread flows smoothly, and there are less snaggles that way.


Sew along the line, with a running stitch. Simply push the needle through the fabric, bend it or rock it slightly, and bring it back up to the top again. Try to stay on the line as much as possible. Make your stitches as small as you can. As you get comfortable with this stitch, put the needle through the fabric two or three times before pulling the thread through.


Tip: Be careful not to pull the thread so hard that the fabric gathers.

My grandmother's tip: Every few inches, make a small back stitch before sewing forward. This makes an incredible strong seam.

Make a knot at the very end of the seam. Take a very small stitch, bring the needle to the top, and pull the thread until there is a small loop left. Put the needle through the loop and pull tight. Repeat.

Next, add the third strip to this unit:


This is what the wrong side will look like:


From the top side of the block, press the seams to one side. This is what it looks like on the back:


Check Block Size!

Take the time to do this step. Measure the block from side to side, across the seams. It should be 6.5" wide. If it is not, adjust the seam allowance on your next block.


This block did not measure 6.5"! It's too small. My seam allowances were drawn at exactly 1/4", and they are too large. The next block needs to have scant 1/4" seam allowances.

Tip: You don't need to get too obssessive about this. 6 and 3/8" works just fine, but 6 1/4" makes for a very small seam allowance that is not very strong.

This all matters when you start to sew all of the blocks together.

Sew two blocks together:

Mark a scant 1/4" seam allowance on one edge of a block, as shown:

Pin two blocks together, right sides together, perpendicular to each other, as shown.


This is what the blocks will look like when they are pinned together and ready to sew:


Sew the seam. As you are sewing across a seam allowance, lift up the seam allowance, and sew only on the block. Take a small stitch before crossing the seam allowance, shown below in a blury photo:


When you get to the other side of the seam allowance, take a small backstitch, as shown below: Continue sewing. This process makes the seam strong.


Here are two blocks sewn together:


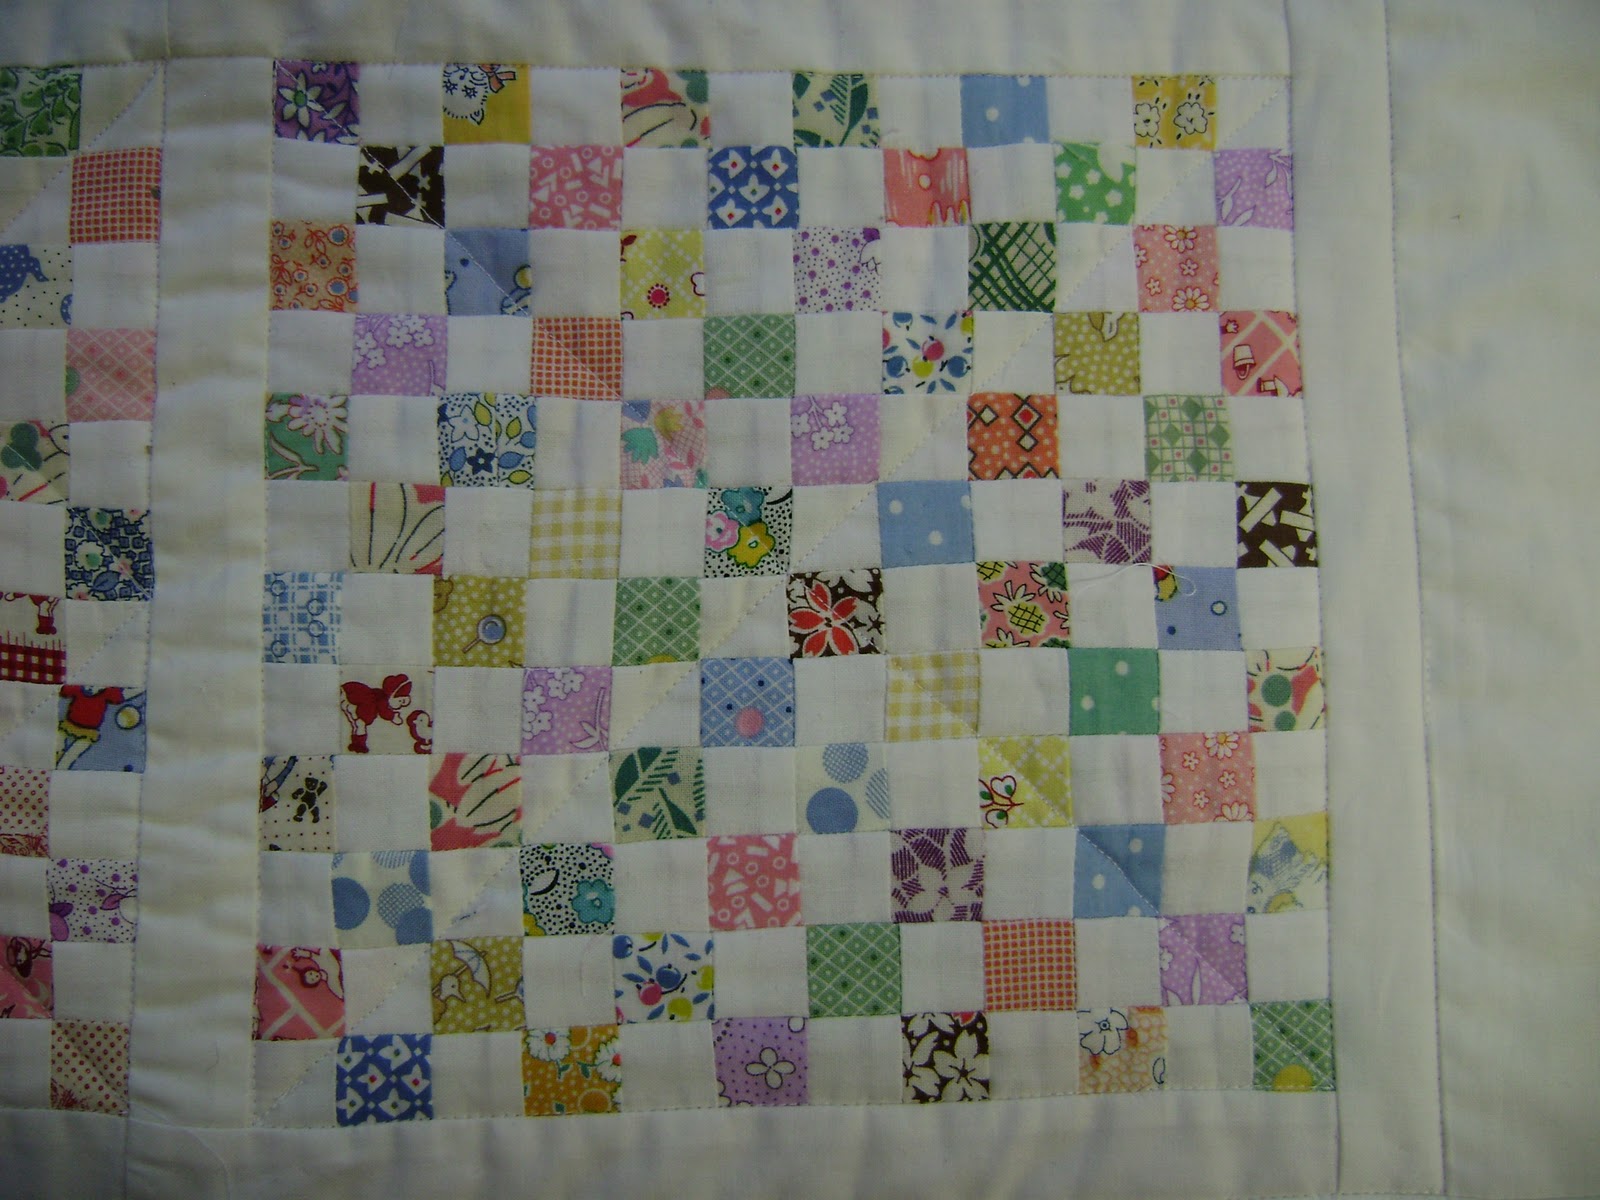
Continue sewing rail fence blocks until you have a lovely quilt! Each block will be 6" x 6" after all the seams are sewn.


Tuesday, May 26, 2009

How To Sew on Scout Patches

No more aching fingers! Here are my tips:

1. Use a sewing machine.
2. Put in a large needle, size 100, or a denim needle.
3. Fill the bobbin with thread that matches the color of the vest.
4. Get out different colors of top thread to match the borders of the patches.
5. Gather all the safety pins you own.
6. Arrange patches in their proper position or in a pleasing design.
7. Arrange on a hard surface that can be poked by safety pins.
8. Keep the vest or sash flat, with nothing under it.
9. Carefully pin each patch with two safety pins. Two will keep it level and in position. Really. Take the time to do this.
10. Sew! Stitch on the border of the patch. Overlap the beginning stitches for one inch to secure it. Hold the threads as you start sewing to prevent snafus on the back.

Tuesday, May 19, 2009

How to: Make a Wallet


My girlfriend wants a kayak. It was her birthday. We were leaving for the party in an hour. Eeeek! I made her a special wallet to stash her kayak fund. A dream fund. This would be a great graduation gift.

Do you have an hour? Gather your scraps!

1. Cut two rectangles of fabric, 9" x 4.5"

2. Cut one 'skinny strip', 9" x 3.5"

3. Cut trim, 1" x 9", or use bias tape.

4. Cut one scrap, 1.5" x 3", for tab, or use ribbon.

5. Gather assorted scraps and fusible web for decorating, and a snap or velcro for the closure.

(There is no photo here, but I am putting this up in the spirit of getting it done, but not perfect.)

1. Finishing the pocket edge: Sew the trim piece to the skinny strip, with a 1/4" seam, down the long edge. Press the trim up and away from the skinny strip. Press under 1/4" on the other long edge of the trim(like making bias tape). Next, fold the trim over the seam allowance, to finish it off. Stitch close to the edge. Tip: When you fold the trim over and press it, extend the edge a bit past the seam. Then you can stitch in the ditch, from the top, and catch the edge on the bottom.

2. Attaching the pocket: Place the pocket on the RIGHT side of one of the rectangles, matching raw edges. Baste to keep it all even and square.

3. Tab: Imagine you are making bias tape. Press tab in half, lengthwise. Next, press under one end 1/4" . Press each edge under 1/4". Stitch close the edges.

To attach the tab, place it on top of the pocket piece, on the left side of the wallet, aligning raw edges. Baste.


4. Sewing the wallet: Place the second rectangle on top of the pocket unit, right sides together. Stitch, with a 1/2" seam, leaving a 4" opening on the bottom. Backstitch over the tab and the pocket edges for strength. Trim the corner seam allowances.

Turn inside out, press. Stitch across the bottom, close to the edge.


5. Decorate! Now you can make this personal! Iron on fusible webbing to your scraps. Cut out into desired shapes, and iron onto the wallet.

6. Tab Closure: Sew a snap or velcro onto the tab and the wallet.


Done!

Thursday, September 18, 2008

Lavender Water

Mark Lipinski generously shares his recipe for homemade lavender linen water here: http://www.marklipinski.com/. (Look under Tips from Tulip.) It smells heavenly! What a way to iron.
Wouldn't this make a wonderful gift?

Wednesday, September 3, 2008

Make your own sandwich bag

Packing up a lunch for work, school, adventures?
We found a fab link for you-how to make your own sandwich bag:
http://thesmallobject.com/stenopad/wordpress/?p=1567

Thank you Sarah!!

Tuesday, August 26, 2008

Roots

As a gal who can't resist a bargain, I picked up some beautiful fabrics-in the form of pants and tops-at a thrift store sale. After cutting the clothes into 6" squares, I assembled them into lap sized quilts.

I love making quilts out of old clothes. Finding a good mix of colors is a challenge. And recycling is always good!

This is the only way my great grandmother and grandmother knew how to make quilts-out of old clothes.


How to:


  • Wash first.

  • Cut as many 6" squares as possible, piece a few 6" squares together with the scraps.

  • Use 7+ different fabrics; Try to find a stripe, a plaid, a dot, and a floral.

  • Randomly sew together pairs, then build 4 square blocks. Sew the 4 square blocks into rows.

  • To make a cozy lap sized quilt, use four 4 square blocks by six 4 square blocks.

  • Use an old flannel sheet for the batting.


About Me

My photo
Sewing since I was 8...a friend of my grandmother's sent us a large box filled with fabric scraps. That was all it took!